Drywall installers execute important wall installation tasks that require precise work, as any minor mistake can impact the entire project outcome. Costly repairs and frustration result from poor finishing and misaligned sheets and uneven seams between drywall sections. Understanding which drywall technique to use in order to avoid mistakes in drywall projects will help achieve perfect outcomes in the competitive market of drywall, whether you work with professionals or handle the job yourself.
When doing drywall, even small mistakes can lead to cracks, sagging, or an uneven finish. Every drywall installation, whether done by amateurs or professionals drywall installers stands to benefit from applying drywall techniques and avoiding specific mistakes that cost both time and money.
The correct measurement of drywall stands as one of the fundamental mistakes which occurs when doing drywall projects. The length of drywall panels when cut either too short or too long will result in finishing challenges because of the gaps that appear. Trusting the double-check for measurements prevents cutting errors. According to one study, inaccurate measurements and cutting errors account for around 15% of drywall installation issues, resulting in higher material waste and labor expenses.
Not all drywall is the same. The drywall used for bathrooms should be water-resistant and fire-rated drywall materials must be applied in garages. Selecting the wrong drywall material type can result in damage, along with expensive repair costs.
Correct fastening methods are crucial for maintaining the long-term durability of drywall. Panels undergo shifting when screws become overdriven or are set too far from adjacent screws leading to appearance of cracks. Drywall installers ensure that panels are installed properly to prevent serious problems from occurring. Improper fastening practices, such as overdriving screws, account for 20% of drywall flaws, resulting in panel movement and cracks.
Joints become weak because proper backing is missing during installation. To guarantee sturdy installations always use framing or blocking for seam reinforcement. Neglecting correct joint backing causes weak seams, which account for 12% of structural concerns in drywall installations.
Troublesome wall surfaces are usually a result of layering joint compounds in thick amounts or neglecting correct drying times. Expert drywall contractors understand that spending sufficient time on each step yields perfect results.
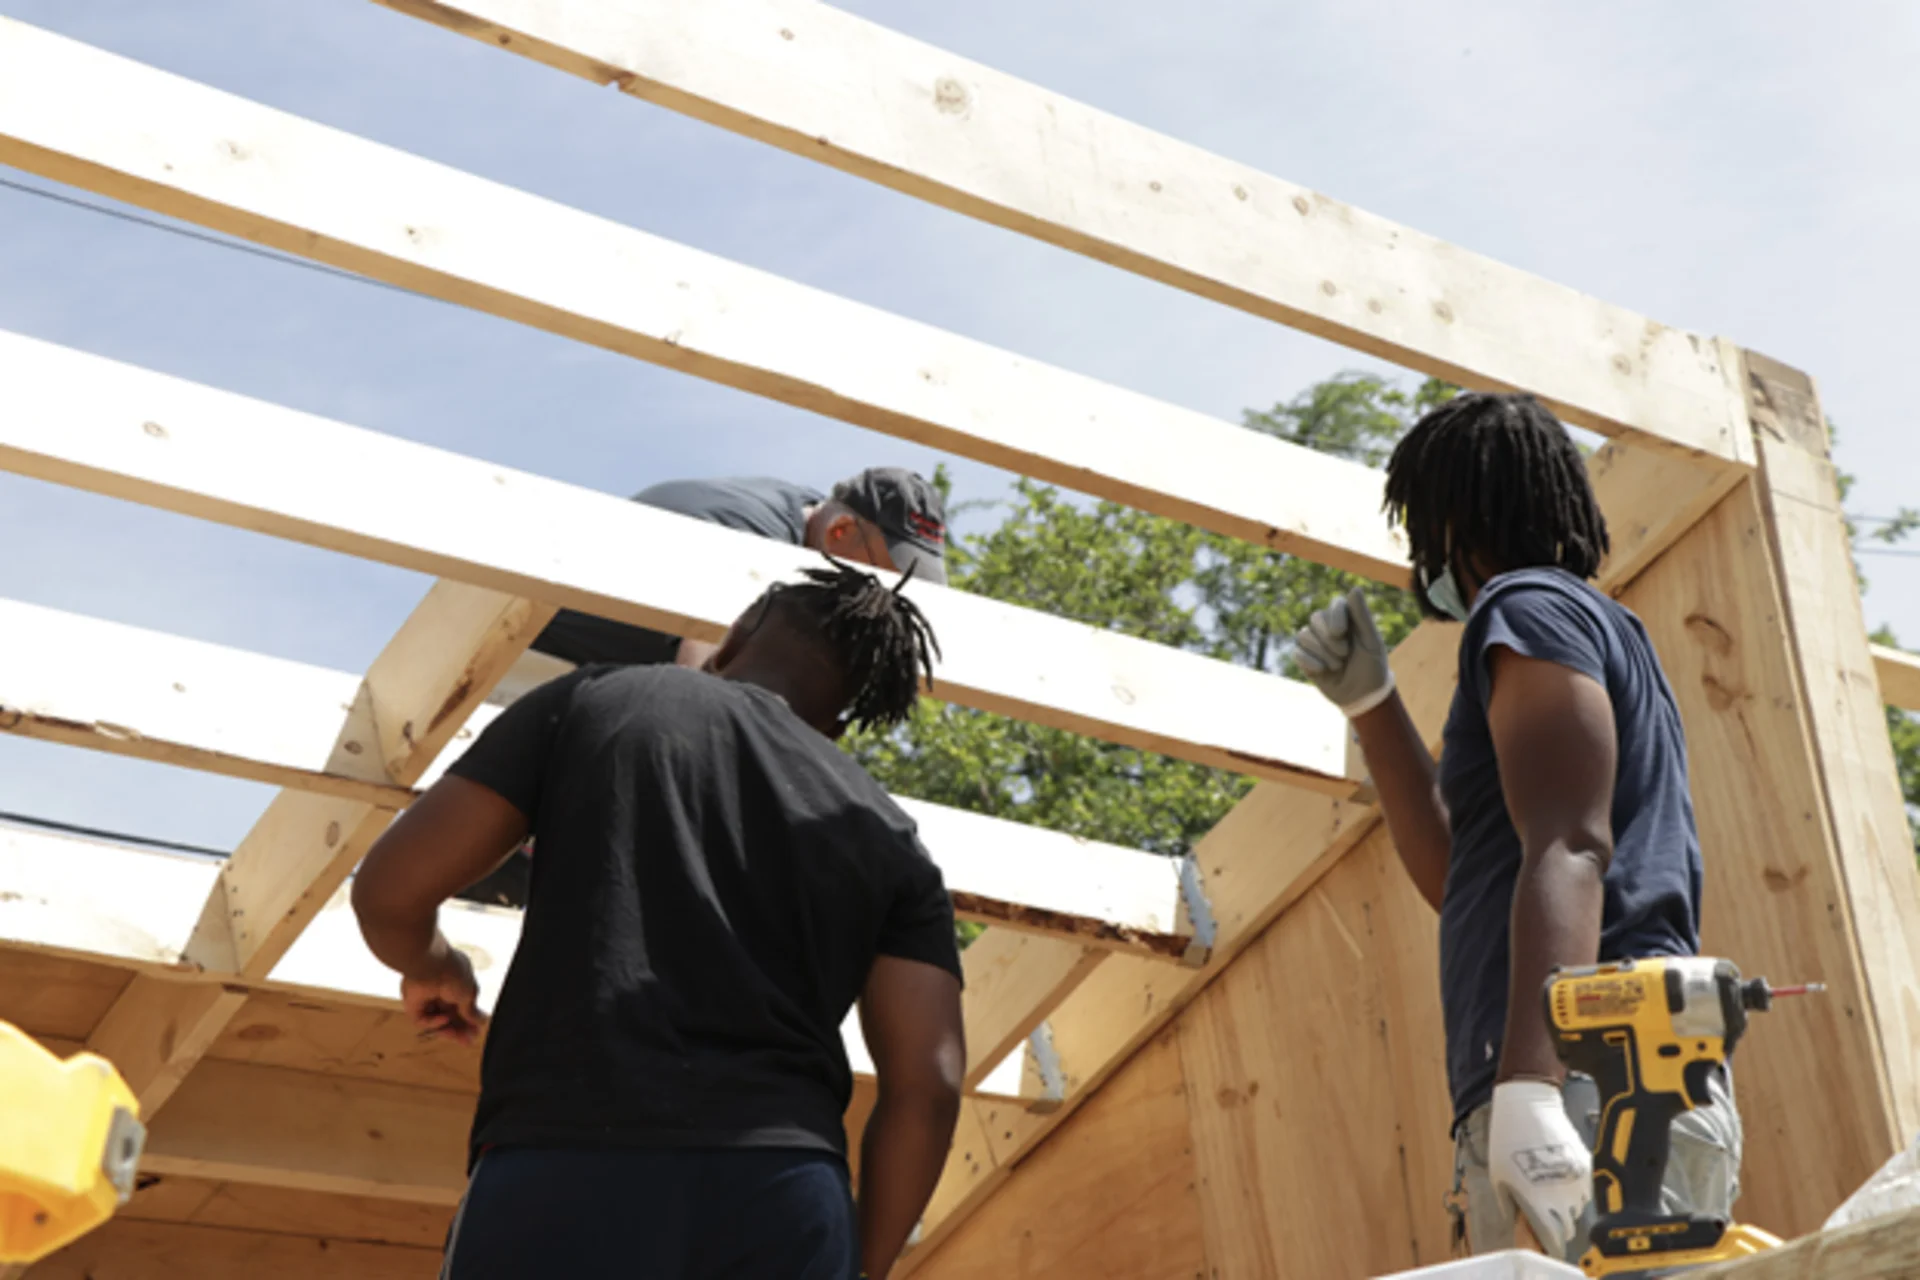
Installing ceiling drywalls is a more difficult construction difficulty than building walls. Your ceiling panels will sag and visible seams will appear if you do not follow proper installation methods. These steps show you how to prevent typical errors when working with ceiling drywall. Here’s a few tips on how to avoid common errors in ceiling drywall.
Poor installation of ceiling framing makes wallboard panels fall and reveal cracks. Properly spaced framing units create the necessary base and anchors so your ceiling can survive without problems.
Install screws throughout the sheet to make it strong all over. Putting an excessive number of screws into drywall damages its structure but placing too few screws produces an unsafe surface. Drywall installers use precise measurements to build strong ceiling walls.
Ceiling joints become clearer to our view than wall joints on drywall. Poor taping and mudding work will allow seams to show through. Good results depend on selecting quality supplies and applying joint compound several times.
Regular drywall becomes too heavy for ceiling installations which then makes the panels sag. An experienced contractor drywall specialist advises using lightweight panels for ceiling installation.
Ceiling drywall moves as the surrounding air changes temperature and humidity which produces small cracks over time. A stable work environment helps to stop ceiling issues from developing.

You need total focus to produce high-quality ceiling drywall results. You need to pay attention to every step when you apply mud and sand drywall on ceilings. You need to follow these steps to get perfectly smooth ceiling surfaces.
High-quality ceiling drywall finishes come from using thin mud coats and placing tape correctly. These measures stop both foam bubbles and surface imperfections from developing.
If you sand too much you will show the drywall paper and if you do not sand enough you will leave rough parts. After sanding with a fine-grained sponge drywall installers perform a smoothness test under illuminating lighting.
Using primer will seal the drywall and provide a smooth paint finish. Completing priming before painting will prevent your paint from developing an uneven texture. All professional drywall contractor specialists follow the step of priming before they paint.
Poor lighting can hide imperfections. Different angles of bright lights applied before painting allow you to identify potential problems thus leading to better smoothness in ceiling drywall finishes.
There are some basic skills to apply while repairing drywall sections. One should apply a soft transition of mud along each edge to achieve a smooth end result. Harsh transitions make repairs noticeable. Drywall installers understand blending techniques produce top-quality outcomes in their work.
Your drywall results will produce a smooth durable finish when you either perform drywall on your own or utilise a contractor drywall expert by steering clear of common mistakes. Every aspect of planning coupled with detailed installation work under close attention results in superior outcomes. These guidelines will help drywall installers to accomplish successful drywall work when they start their next installation project.
Read More: